Does your home feel a little dull, and you’re not quite sure why?
You might be surprised at how much you can brighten up a space just by painting the baseboards.
This can make your home feel cleaner and fresher, and it’s also something you can do yourself in just a day or two.
Here at MatiDesign, we’re an interior decorating and home stager in London Ontario.
But when it comes to designing your home, there’s so much more to it than accessorizing.
That’s why we also offer residential painting and home renovations as well.
If you’re looking at refreshing your living space, we’ll take everything into consideration.
Painting, flooring, window coverings, and so much more – we’ve got you covered.
But for the DIY crowd, we’ve put together this handy little residential blog article on how to paint your baseboards.
Let’s take a look.
Should You Take Your Baseboards Off Before You Paint Them?
In some cases, this might be a good idea.
For example, if you’re planning to replace your baseboards anyway, it’s not a bad idea to paint them first.
That way, you can make sure none of the paint gets on your wall.
If you are replacing your baseboards, though, you’ll probably have to give your walls a fresh coat of paint anyway.
This is because removing your baseboards usually causes a bit of wall damage.
The newer your home, the easier this process will be.
If your home is an old, stately mansion, your walls will have seen plenty more layers of paint over the years than if you live in a new condo, for example.
But in most cases, it’s easier to just paint them on the wall.
What You Need To Paint Your Baseboards
Before you start a project, it’s always a good idea to get all the tools you need in order.
So, before you paint your baseboards, you’ll need the following:
- A drop cloth
- Eye protection
- Rubber gloves
- A bucket of water
- A damp sponge or cloth
- A paintbrush
- Primer
- A vacuum cleaner with a hose
- Sandpaper
- A putty knife
- Wood filler or drywall putty
- A paint scraper
- A TSP alternative
- Some clothes you don’t mind ruining
- Painter’s tape (optional)
Of course, this is on top of the paint colour you’re using.
In most cases, people opt for a semigloss or high gloss latex paint for their baseboards.
Painting Your Baseboards
Now it’s time to get down to business!
Follow this step by step process to paint your baseboards.
1. Clean Your Baseboards
First, lay your drop cloth down below your baseboards.
Then, scrape any loose and flaking paint away.
Once that’s done, grab your vacuum to clean up all that mess.
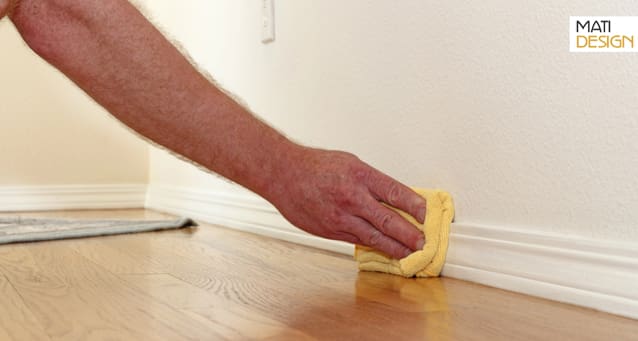
Then, mix your TSP alternative in your bucket according to instructions, and wipe your baseboards down thoroughly with it.
Make sure you’re wearing rubber gloves while you do, since even the environmentally friendly TSP alternatives aren’t good for your skin.
2. Patch Any Areas That Need It
If your baseboards are brand new, you can skip this step.
But if they’re older, this is where your drywall putty and putty knife come in handy.
Some baseboards will become damaged over the years.
If that’s true of yours, you can fill in those holes or gouges with your drywall putty.
Smooth it out as best you can, but don’t worry about getting it precise yet.
That’s because the next step is to…

3. Sand Your Baseboards
To get your baseboards nice and even, grab some sandpaper.
Nobody likes this step, of course.
But it’s one of the major things that separate a sloppy, amateur job from a professional one.
Smooth out your baseboards, looking to get them as even as possible.
4. Cover The Edges With Painter’s Tape (If You Like)
Some people prefer using painter’s tape, since it helps make sure your paint job is nice and even.
However, painter’s tape doesn’t guarantee perfect results.
If you are using it, make sure it’s pressed flush against the surface at every point.
Otherwise, paint can seep under it, defeating the purpose.
5. Prime Your Baseboards
If your baseboards are brand new, they likely have primer already applied at the factory where they were made.
You can also skip this step if you didn’t have to do any patching or sanding on your baseboards.
But if you do need to prime them, start by thoroughly mixing your primer.
Then, dip your brush in it, making sure not to overload it.
You can dip it about a third of the way in.
When you pull it out, use the rim of the can to wipe off the primer on half of the brush.
Then hold the brush between your thumb and your forefinger, like you would a pen.
Use long, light strokes as you apply the primer.
In order to prevent lap marks, keep a wet edge by painting back over the edges of previously painted area before the primer dries.
When finished, let the primer dry as directed by the manufacturer.
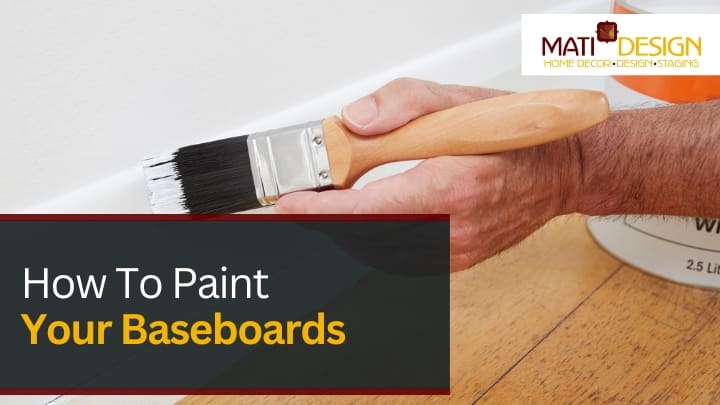
6. Paint Your Baseboards!
When you’re ready to paint, make sure your paint is properly mixed before starting.
Once again, don’t overload your brush with paint.
Dip the paint brush no more than a third of the way into the paint.
Then, start with the corner of your room, and paint along.
Make sure your brush strokes are in a single direction, not than back and forth.
Use the paintbrush to push the paint into any chipped or recessed areas.
Like with the primer, overlap your strokes before they dry to better blend it together.
When the first coat is finished, let it dry for at least 24 hours before you begin with a second.
Once the second coat is finished drying, take a look at your baseboards.
If you’re choosing a radically different colour than what’s there, you may need a third coat.
However, in most cases that won’t be necessary.
Once you’re finished, wait for your room to be, well, room temperature, before you remove it.
If it’s particularly hot or cold, removing the tape could damage the tape.
Hold the blade of your putty knife flat against the wall, slip it under the tape, and run it along the edges to separate the tape from the paint.
Finally, slowly pull the tape off at a 45 degree angle.
Book Your Consultation With MatiDesign Today
But here’s the thing with a DIY paint job.
What colours are you choosing?
How are they meshing with the rest of your home?
Are you planning to replace your flooring as well?
What about the rest of the space?
Repainting your baseboards the same colour might feel like something you can do yourself.
But if it’s part of a larger project, it can be overwhelming.
At MatiDesign, we can help.
I’m Mati Edwards, and I’ve been working as an interior decorator in London Ontario for longer than I care to admit!
Book a consultation, and together we’ll explore what your unique needs are for your home.
From there, I’ll answer all your questions, and we’ll put together a plan to give you the home of your dreams.
And I’ll work to keep it on task, on budget, and on schedule.
Book your appointment with MatiDesign today, and let’s create the home of your dreams.


