Are you sick of staring at your old, tired-looking wooden kitchen cabinets?
Maybe they’re still in good shape, but the style just doesn’t match your modern design sense.
So, you’re exploring your options – new flooring, new countertops, new appliances, and maybe a fresh backsplash on the wall.
But you’re on a limited budget.
What are your options?
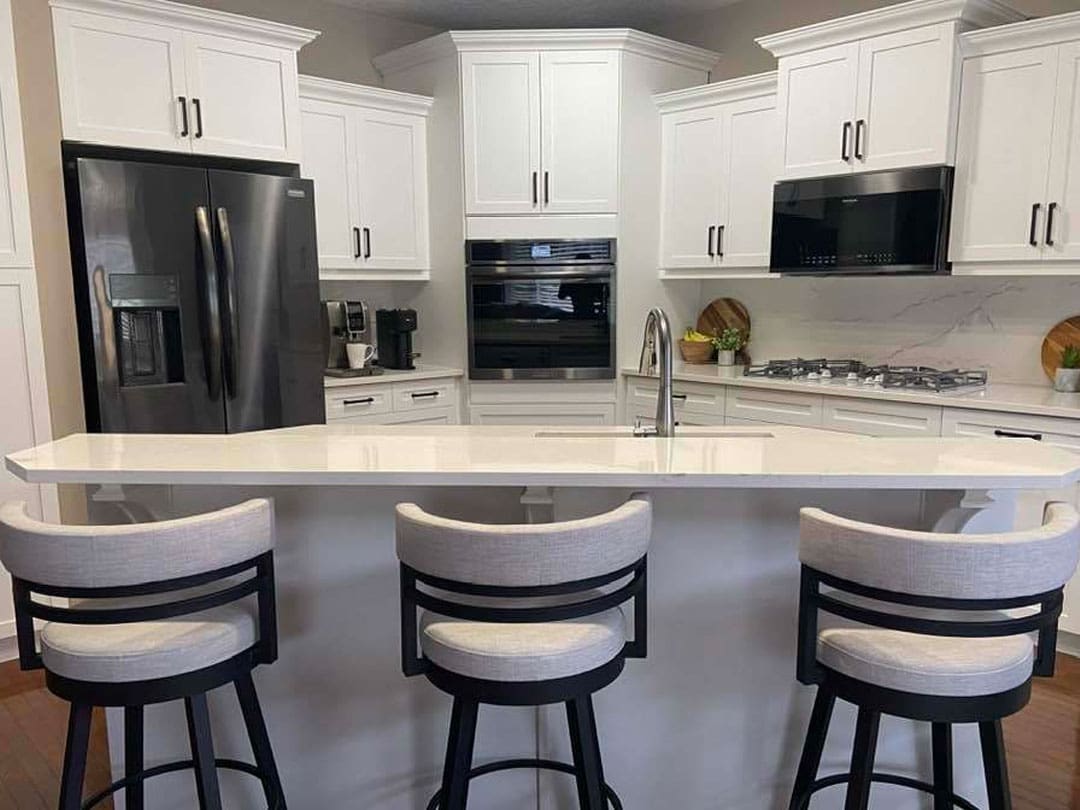
There’s nothing like painting your kitchen cabinets to give you a fresh new look.
At Mati Design, we can help.
We’re a London Ontario design company.
Here, you’ll find the services of interior decorators, home reno contractors, painting contractors, and more.
Today, we’re talking about painting.
If you’re not yet ready to tear down your cabinets and build new ones, painting is a great option.
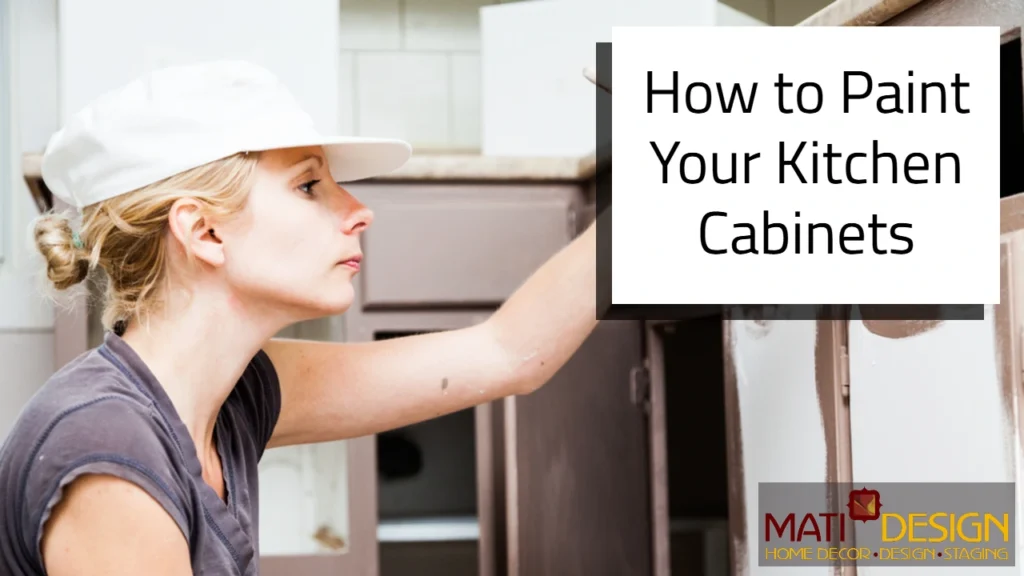
Today, we’re taking a closer look at how to paint your wooden kitchen cabinets.
Paint Is Permanent
Now, look, painting your cabinets is a big decision.
Once you paint your cabinets, there’s no going back.
Of course, you can paint them a different colour later.
But sanding and stripping your cabinets is a long and difficult process.
And in the end, it’s very difficult to get them looking like they once did.
That’s okay if you’re sure you want to paint them.
But if you’re not, it may be worth waiting for a bit.
Step 1: Get Your Tools Together
Before you pick up a brush, make sure you have everything you need.
Here’s what to get:
Paint
Don’t grab whatever’s left over from your last project.
Look for paint made specifically for kitchen cabinets.
It’s built to handle the daily wear and tear of opening, closing, and cleaning.
Drop Cloths
To protect your countertops, floors, and appliances.
You can buy drop cloths from painting supply stores, but if you’re not a professional, you can use an old bed sheet.
Make sure to layer it a couple of times, though, because a big spill will seep through and damage what’s underneath.
Sandpaper
Sandpaper can help you smooth out imperfections in your cabinets.
This provides a smoother finish.
A fine grain will do for most cabinets, unless yours are in rough shape.
A Screwdriver
To remove doors and hardware.
A Damp Cloth
For wiping everything down after sanding.
This will also come in handy once you start painting, when you inevitably get some paint somewhere it doesn’t belong.
A Breathing Mask
This is important because sanding creates wood dust.
That can be harmful to breathe in.
That’s especially true if your cabinets were built before the 1970’s, since some wood stains had lead in them back then.
If you suspect your cabinets contain lead, don’t sand them.
The lead in old stains and paint isn’t harmful if it’s secure on the wall.
But if you sand it, you’ll kick up all that lead into the air, which is bad news.
The link above from the Government of Canada explains how to test for lead in your walls and how to safely remove it.
What Paint Should You Choose?
You’ll also need to decide how you want to apply your paint.
Essentially, there are two options here.
You can choose spray painting or brush painting.
Let’s take a closer look at both.
Spray Painting
Spray paint is faster and gives a smooth, even finish.
The downside is that it spreads widely and can land on things you didn’t mean to paint.
As a general rule, spray painting works best outdoors.
You may be able to take your cabinet doors outside to spray them, but for the cabinets themselves, you’d need to cover everything else in your kitchen with drop cloths.
That’s probably more of a hassle than it’s worth.
Brush Painting
Brush painting takes more time, but it gives you more control.
It’s also the more familiar option for most DIYers.
Just keep in mind that an inexperienced hand can sometimes leave brush strokes in the finished product.
This includes choosing your paint.
How to Paint Your Kitchen Cabinets: Step by Step
Okay, so you’ve got your supplies ready and you’ve chosen your paint.
Here’s a step-by-step process for how to paint your kitchen cabinets.
- Use your screwdriver to remove all cabinet doors
- Remove all handles, knobs, and other hardware from the doors and cabinets
- Put on your mask and sand the doors, drawers, and cabinet frames to create a smooth base for painting
- Wipe everything down with a damp cloth to remove any dust left behind from sanding
- Apply a coat of primer and let it dry completely
- Paint your cabinets, following the direction of the wood grain
- Apply as many coats as you need, letting each one dry fully before adding the next
- Once everything is dry, reattach all hardware and rehang your doors
And that’s it.
Now you have a refreshed kitchen without the cost of a full renovation.
Book Your Consultation with Mati Design Today
Does all that sound like too much of a hassle?
We get it.
At Mati Design, we can help.
A new paint colour can have a big effect on your home.
Choosing a new colour can feel overwhelming.
What looks good in the design blogs might not look good in your home.
And the painting process can be messy and tiresome.
That’s why Londoners trust Mati Design to take care of their homes.
From choosing your paint colours to painting to a full kitchen renovation, we’re here to help.